Clone Git Repository
You can create a Git repository that will be a clone of a remote repository. Go to Websites&Domains and click Git. If you have already created Git repositories for your domain, click the Add Repository button. You will see the screen for creating a new repository:
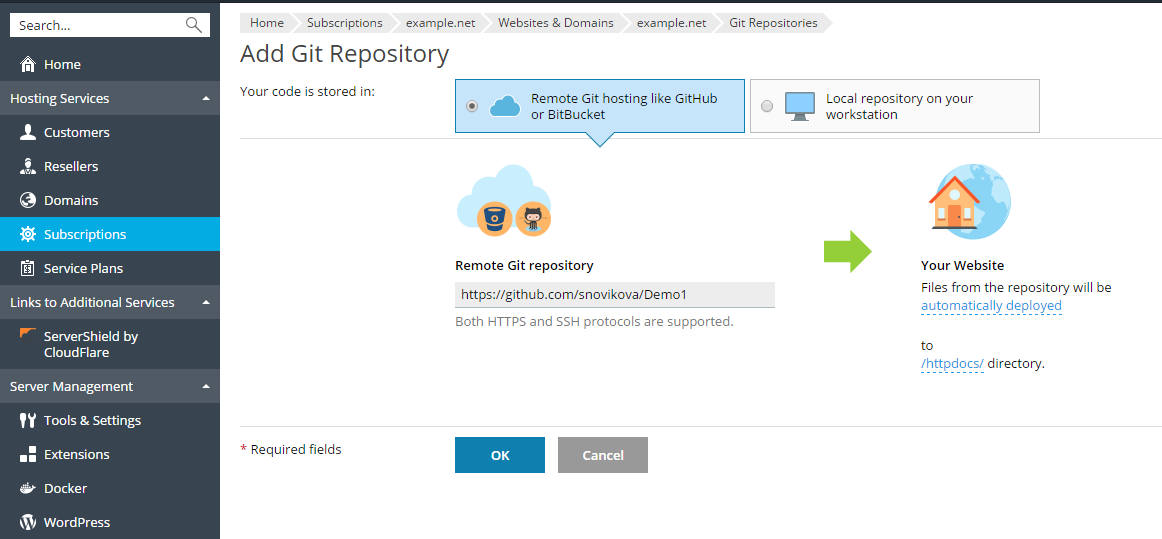
First, you have to select where your code is stored. In this scenario, select Remote git hosting like GitHub or BitBucket.
Remote Git repository. Enter the path to your remote repository in BitBucket or GitHub. You can enter it in either HTTPS or SSH format. HTTP/HTTPS authentication is not supported, so you can use HTTP/HTTPS protocol only if a repository does not require authentication. If a private Git repository is used, you must authenticate with an SSH key generated by Plesk (refer to Use SSH Connection for details).
In the Your Website section, specify the following:
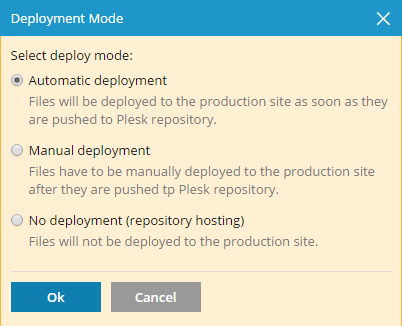
- The deployment mode. By default, the Automatic deployment is used. This means that all changes pushed to the Git repository will be automatically deployed to the production site. If you want to change the deployment mode, click the automatically deployed link and select another option in the opened Deployment Mode window. If Manual deployment is selected, you will need to manually deploy files from the Git repository to your hosting. If No deployment is selected, the files will not be deployed to the production site (this can be used, for example, to store and exchange code).
- A target directory for publishing Git files on your website. By default, the
/httpdocsdirectory is used. You can change it to another existing directory by clicking the directory name.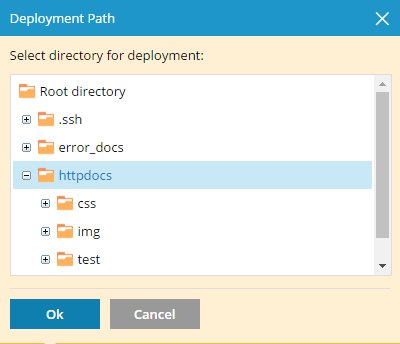
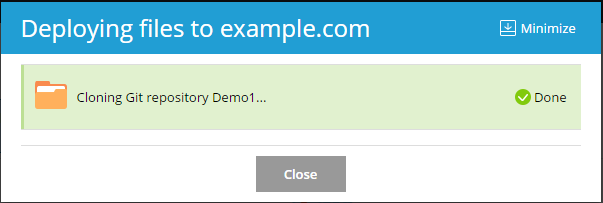
Click OK. Plesk will try to connect to the remote repository and clone it.
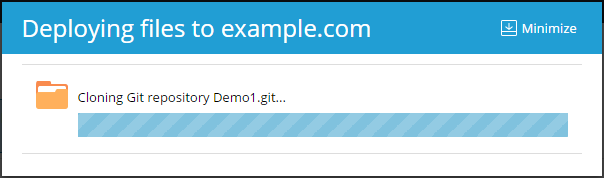
After the progress dialog shows that the cloning has completed successfully, the new repository will be displayed on the Git page.
The new repository will be displayed at Websites & Domains > Git. The name of the remote repository will be used as a Git repository name. You can rename the repository later (refer to the Rename or Remove a Repository section).
The created repository is a clone of the remote repository and will be used for pulling changes from it and deploying them to the target directory.
Using SSH Connection
You can use SSH to connect to the remote Git repository. In this case, when adding a new repository, specify the URL of the remote repository in the SSH format. The SSH public key field will appear and display the SSH public key automatically generated by Plesk.
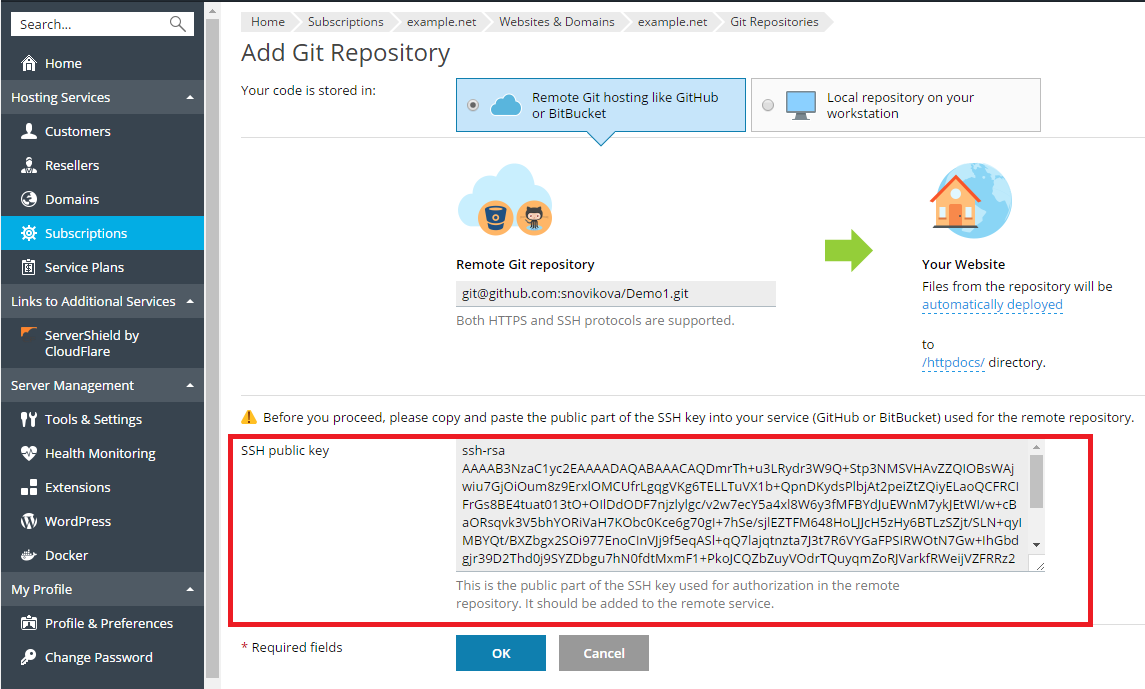
Before clicking OK on this screen, you must add the SSH key to the settings of the remote Git repository. For details, see the documentation for adding an SSH key for GitHub and BitBucket.
Pull and Deploy the Files
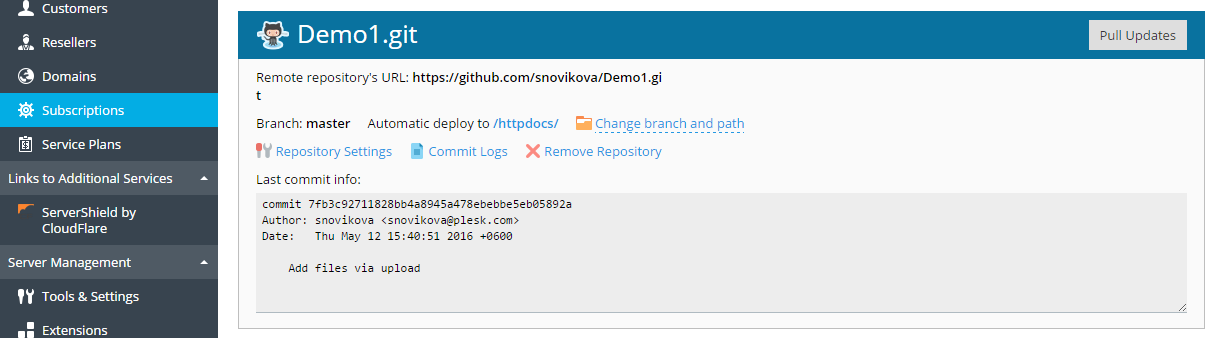
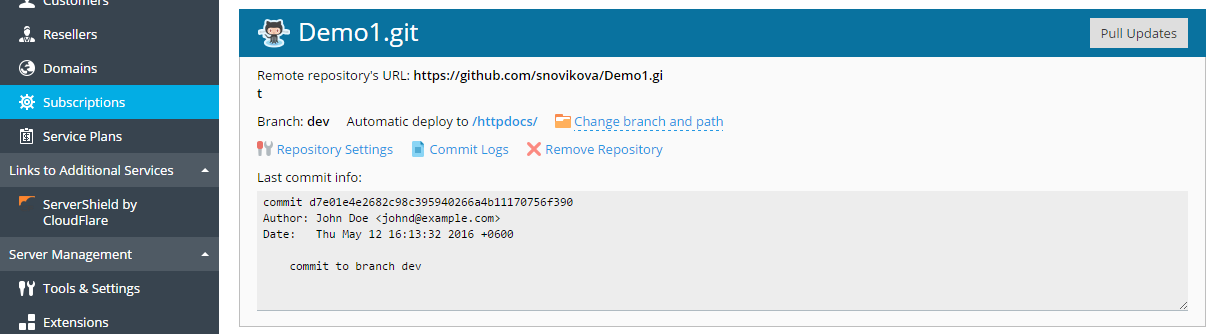
After you commit your web site files and push them to the remote repository, go to Websites & Domains and click the Pull Updates button next to the repository name. The changes from the remote repository will be pulled to the cloned Git repository.
You can see the last commit information at Websites & Domains > Git.
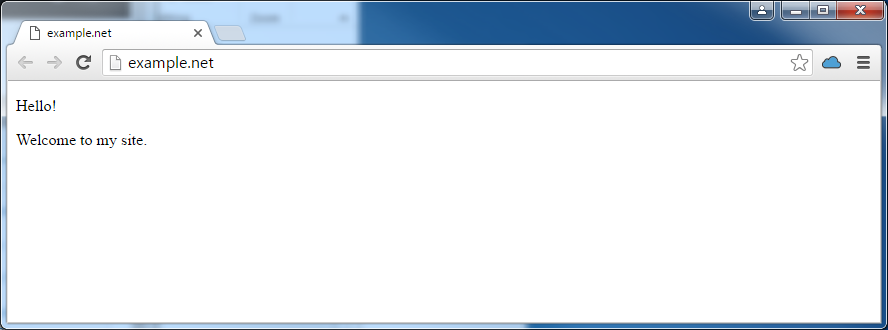
By default, Plesk uses the Automatic deployment mode. This means that after a file is pushed to the repository, it is immediately deployed to the target directory (you can switch off this mode if necessary, see the Select Deploy Mode section).
For example, if you have pulled an index.html file with the text “Hello! Welcome to my site”, you can immediately click the web site URL to see the changes.
Change Branch or Path
Deploy from a new branch
It is normal practice to work with several branches in one repository. Only one branch can be active at one time. By default, the master branch is used for deployment.
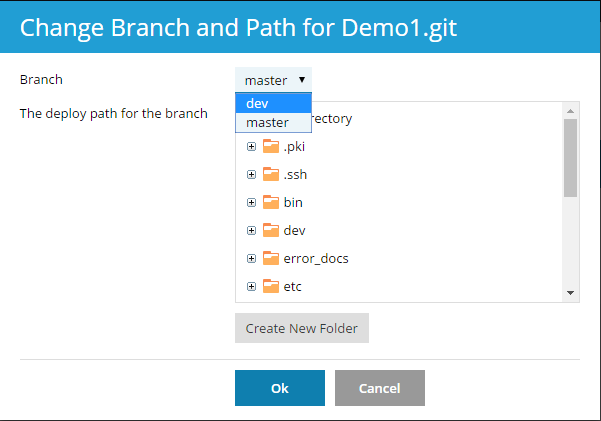
To add a new branch, you have to create it in your remote repository and then pull the changes. After this, you can select one of two (or more) active branches in Plesk. Go to Websites & Domains > Git, click Change branch and path, and in the opened window select the branch name in the Branch menu.
After you select a new branch and click OK, Plesk will display the new active branch.
Change the deployment path
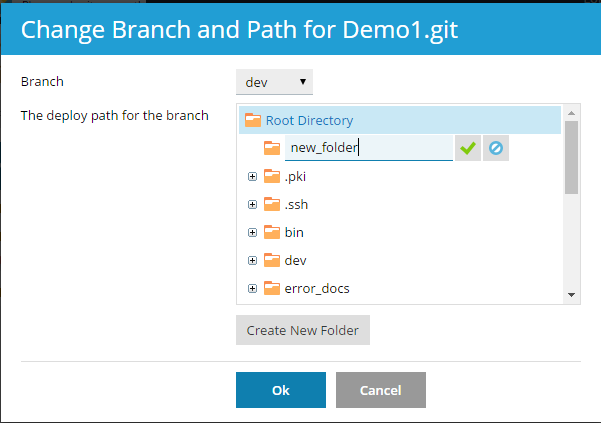
By default, the /httpdocs directory is used for publishing Git files on your website. If you want to change the deployment path, go to Websites & Domains > Git, click the Change branch and path link, and in the opened window select the new directory.
Select a Deploy Mode
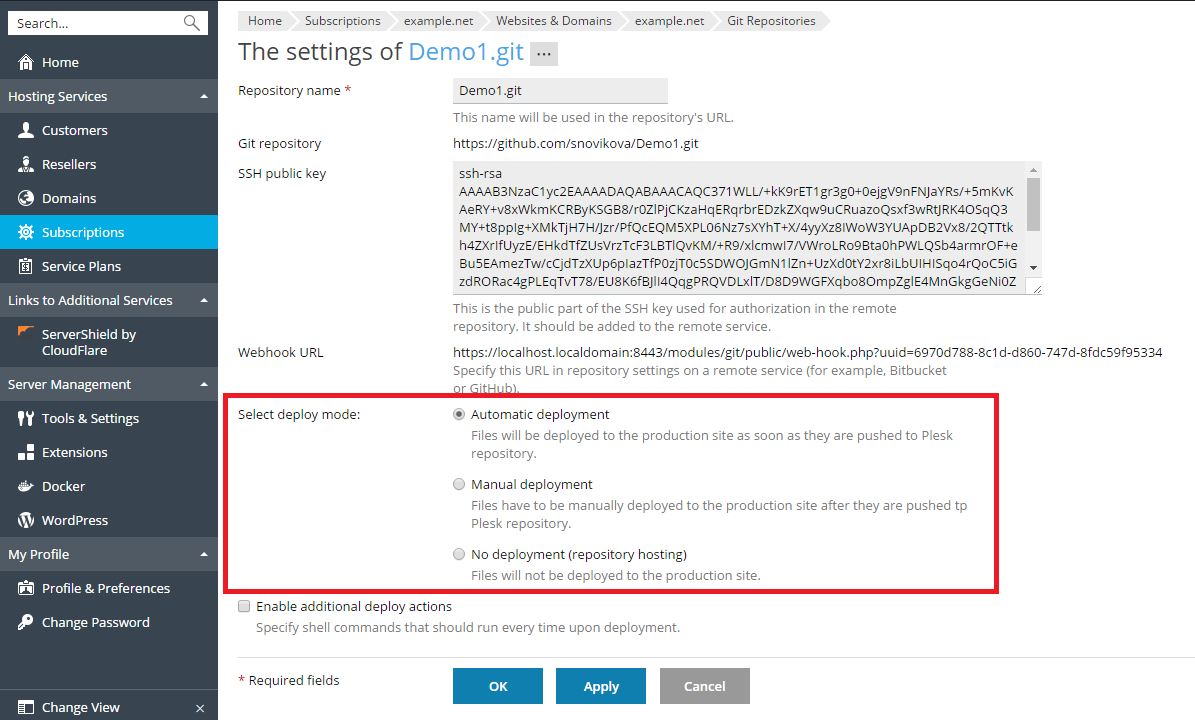
You can select a deploy mode for your repository. Go to Websites & Domains > Git, click Repository Settings and select one of the options at Select deploy mode:
- Automatic deployment. Select this if you want Plesk to immediately deploy all changes to the production site.
- Manual deployment. In this case, you will have to manually deploy files by clicking the Deploy from Repository button at Websites & Domains > Git. You can also manually deploy files by clicking the Deploy button next to the repository name at Websites & Domains.
- No deployment (repository hosting). In this case, files will not be deployed to the production site. You may use this option, for example, if you want to use a Git repository just to store and exchange code.
Use Webhooks for Automatic Pull
You can use webhooks to configure you remote repository to notify Plesk about certain events (for example, pushing files to the repository). For details, refer to the documentation for managing webhooks in BitBucket or GitHub.
A webhook URL is automatically generated for a repository. To view the webhook URL, click Repository Settings.
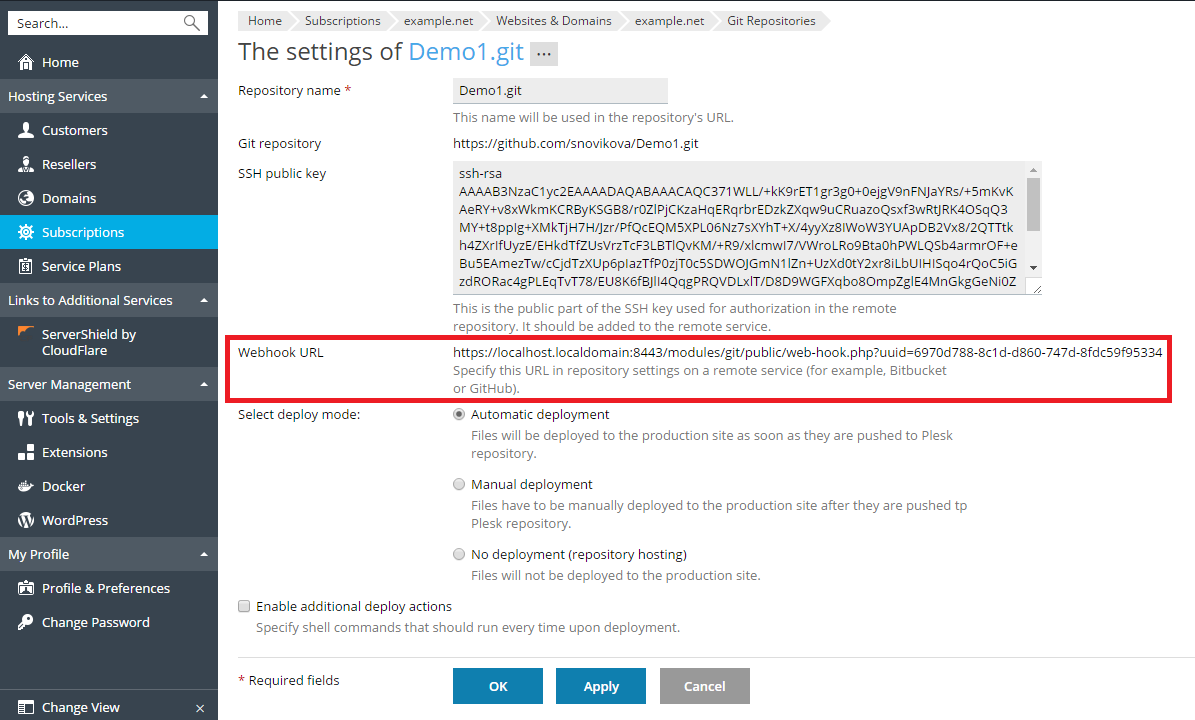
Copy the webhook URL, add it to your remote repository, and configure it to be triggered in case of a push to the repository. As a result, each time a file is pushed to the remote repository, Plesk will be notified about the push event and will automatically pull the files, so you do not need to click the Pull Updates button. If an automatic deployment is configured for a repository, the pulled files will be immediately deployed to the web site.
Note: If Plesk is secured with a self-signed certificate, the webhook may not work if called via the HTTPS protocol due to SSL/TLS handshake issues. If this is the case, specify the HTTP protocol in the webhook URL instead.
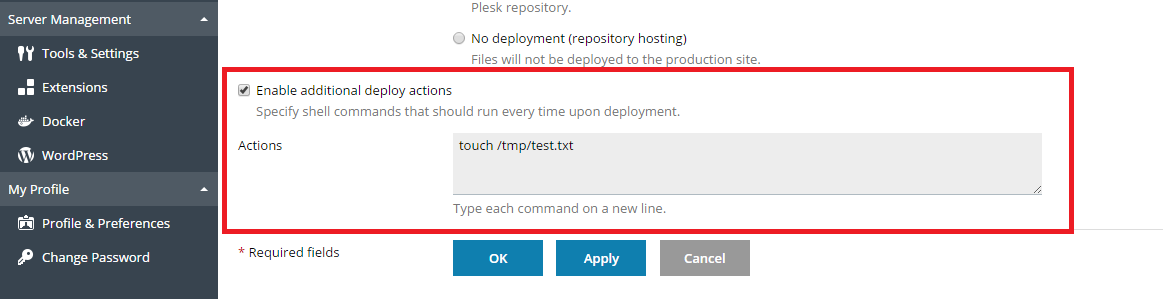
Enable Additional Deployment Actions
In many cases, file publishing is not enough to finish web site deployment. For example, if you are using a framework like Ruby on Rails, you may need to run a data migration task after deployment with a command like this: bin/rails db:migrate.
Plesk gives you the ability to define one or more additional commands that will be run every time the files are deployed to the web site.
Go to Websites & Domains > Git, click Repository Settings, select Enable additional deploy actions, and type one or more shell commands that will run every time the repository contents are deployed. Enter every separate command in a new line.
Note: On Linux, if SSH access is forbidden for the domain’s system user, all specified commands will run in a chrooted environment. The home directory of the subscription’s system user is treated as the file system root for that subscription, and no executable files outside the chroot jail can be run. For example, if the path to your site is /var/www/vhosts/example.com/httpdocs, in a chrooted environment, the path will be ./httpdocs, so you will not be able to execute commands outside one level above the /httpdocs directory.
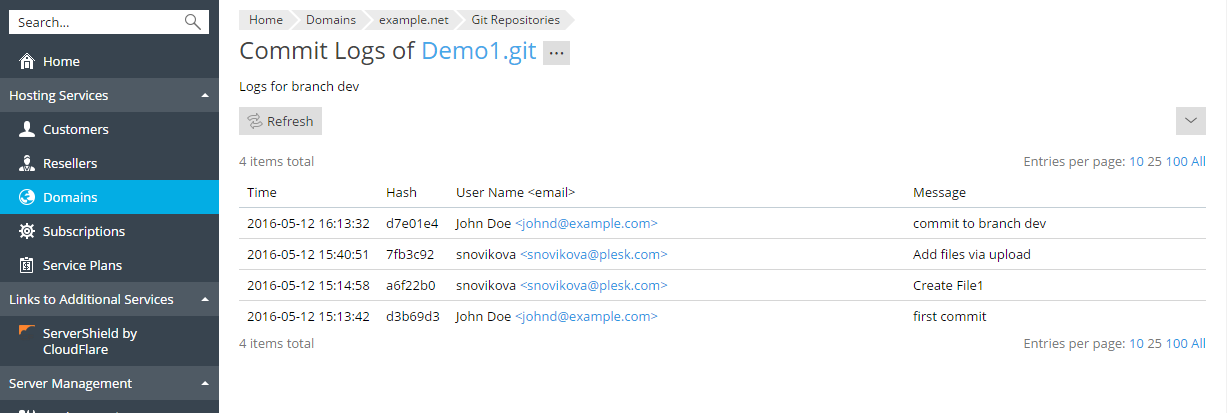
View Commit Logs
To view the whole commit history for the current branch, go to Websites&Domains > Git, and click the Commit Logs link. For each commit, the following information is displayed: time, unique identifier, user name and a commit message. Click Refresh to update the commit log.
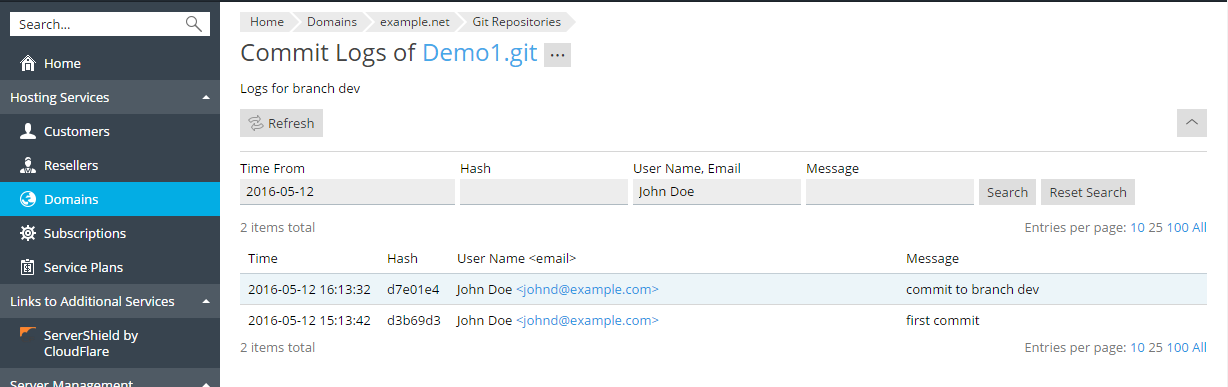
You can filter the commit logs by any parameter. For example, you can find all the commits that were done by a particular user starting from a particular date. Click the  button, enter the search parameters, and click Search.
Rename or Remove a Repository
You can rename you repository at any time. For example, if you have finished development, you may want to change the repository name from website-dev to website to avoid confusion. Go to Websites&Domains > Git, click Repository Settings, and enter new name at the Repository name field.
If you want to remove the repository, click the Remove Repository link on the Git screen. In this case, Plesk will remove just the repository; the target directory with the published data will remain as it is.
Source from : https://docs.plesk.com/en-US/onyx/reseller-guide/website-management/git-support/using-remote-git-hosting.75848/